


How a Curved Staircase Is Built: Stringer, Radius & Fabrication-Staircase Guides
Curved Staircase · How It’s Made
How a Curved Staircase Is Built: Stringer, Radius & Fabrication
How a curved staircase is built: a manufacturer measures the opening, the floor-to-floor rise, and the radius, then draws a shop drawing for approval before cutting. The factory fabricates the curved stringer, sets the treads along that radius, and adds the railing. It trial-assembles the whole flight to verify the sweep and fit, then crates it for shipping and local installation.
That ordered sequence is the honest answer, and it looks nothing like a weekend project. This guide walks through the manufacturer’s real process, the one we follow at Double Building Materials, from the first measurement to the moment your installer raises the finished stair. It also explains why the curved stringer is the single hardest part of the whole build, and where the boundary between our workshop and your site sits.
Built in a Factory, Not on Site
The first thing to grasp is that almost all of the real work happens in a factory, long before the stair reaches your home. A curved staircase is a precise, sculptural build, not a stack of loose parts. The treads have to sweep along one true arc, and the rise has to climb evenly the whole way, or the curve reads as awkward underfoot. That accuracy is far easier to achieve on a controlled shop floor than in a half-finished stairwell.
So the steps below show how we make the staircase, then trial-assemble and crate it for delivery. Your own contractor or installer does the final lift on site, working from our drawings. This article is a look inside curved staircase construction, not a do-it-yourself manual, because a bespoke curved stair is genuine engineering work. Reading it tells you what good work should look like, and what to ask whoever quotes your project.
We follow this same disciplined process for the curved staircases we manufacture and ship worldwide. One rule orders every step that follows: nothing final happens until you approve the drawing, and nothing leaves until our team stands the finished stair up and checks the sweep. That discipline keeps a difficult curved object predictable from the first cut to the final crate.
Step 1 — Measure the Opening, Rise, and Radius
Learning how to build a curved staircase begins with a careful survey of the space, because three figures govern everything that follows. The first is the floor opening, the shape and size of the void the stair will rise through. On a curved stair this opening is rarely a simple rectangle, so its exact outline decides how the curve can sweep and where the flight can land at the top.
The second figure is the floor-to-floor rise, the straight vertical distance from one finished floor to the next. That number sets how many treads the flight needs and how tall each individual rise must be. The third, and the one that defines the whole stair, is the radius of the curve. A generous radius gives a relaxed, gentle sweep; a tight radius turns harder in less room. We weigh those proportions in our companion guide to curved staircase design.
| Measurement | Why it matters |
|---|---|
| Floor opening | Its outline sets how the curve can sweep and where the flight lands and exits at the upper floor. |
| Floor-to-floor rise | Fixes the tread count and the height of each step. A taller rise simply adds steps along the curve. |
| Radius of the curve | Defines the sweep. A wider radius walks more gently; a tighter radius fits a smaller footprint. |
| Handing & finish | Which way the curve turns, plus tread material and railing style, complete the brief for the drawing. |
For an export project, your local contractor usually takes these measurements and sends them to us, often with a sketch or photographs of the stairwell. Accurate numbers at this stage are everything, because the entire curved staircase follows from them. A small error here becomes a hard, costly fix later, which is precisely why the next step matters so much.
Step 2 — The Shop Drawing (Approve Before Cutting)
The numbers turn into a working shop drawing before we cut any material. This is the heart of what we call Drawing-First Coordination. The drawing fixes the curve itself, the exact rise and run of every tread along the arc, the stringer profile, the railing, and each joint detail. It turns a loose brief into a buildable object, and the entire fabrication then follows this single coordinated sheet.
You review and approve that drawing before we cut anything, and we treat the approval as a genuine gate rather than a formality. A curved staircase leaves very little room to fix a mistake once the stringer is set, because the curve is shaped to one fixed radius and the treads land at fixed positions along it. Catching a wrong dimension on paper costs a quick redraw; catching it after fabrication costs a part. So we treat the approved drawing as the contract for the build, and we cut nothing until you sign it.
A clear drawing also lets your installer plan ahead, because they can study the footprint, the fixings, and how the curve meets each floor well in advance. It pays to read the drawing carefully, and to check the radius against your space and the rise against your local rules. If you want to understand the shape itself in more depth, our pillar guide explains what a curved staircase is and how its geometry behaves.
Step 3 — Fabricate the Curved Stringer
With the drawing approved, the most demanding stage of curved staircase fabrication begins. The stringer is the structural beam that runs along the side of the stair and carries every tread, and on a curved stair that beam has to follow the arc precisely. This curved stringer is the single hardest part of the whole build, because it has to bend smoothly to the radius while staying perfectly true and strong. Get the stringer right and the rest of the staircase follows; get it wrong and nothing else can save the curve.
There are two common ways to make a curved stringer, and the drawing decides which one suits your stair. A timber stringer is built up from many thin layers of wood, glued and clamped around a curved former, or mould, until the laminated beam holds the shape. A steel stringer is shaped instead by rolling a plate or section to the radius, or by cutting it into short segments that are welded together to follow the curve. Both methods aim at the same goal: a continuous beam that traces one true arc.
| Stringer method | How the curve is formed |
|---|---|
| Laminated timber | Thin layers of wood are glued and clamped around a curved former until the bonded beam holds the radius. |
| Rolled steel | A steel plate or section is passed through rollers that bend it gradually into one smooth, continuous arc. |
| Segmented steel | Short straight pieces are cut and welded end to end, then dressed back so the joints read as a clean curve. |
Shaping a stringer to a true arc is exacting work that rewards good equipment and experienced hands. Across more than 25 years of manufacturing, our fabricators have refined how a curved beam is formed and checked against the drawing, so the geometry stays honest along its full length. At this stage the result is the spine of the stair: one accurate curved stringer, ready to receive the treads.
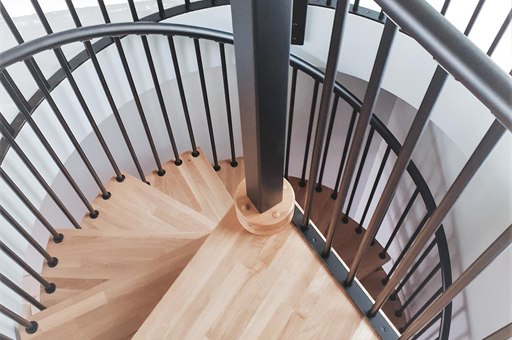
Step 4 — Set the Treads Along the Radius
With the stringer formed, we set the treads along the curve. Each tread fixes to the stringer at the exact position the drawing specifies, so the run steps evenly around the arc and the rise climbs at a constant pitch. On a curved stair the treads are subtly tapered, a little wider on the outer edge of the sweep and narrower on the inner edge. That gentle taper is what lets a straight step follow a turning path.
Setting them is patient, position-by-position work rather than a quick repeat. Because every tread sits at its own angle along the curve, we locate and fix each one in sequence, checking the rise and the line as the flight grows. A steel stair welds or bolts its treads to the stringer; a timber stair joins them with housed joints and fixings. Either way, the goal is the same: a smooth, even climb where no single step jars against the sweep of the curve.
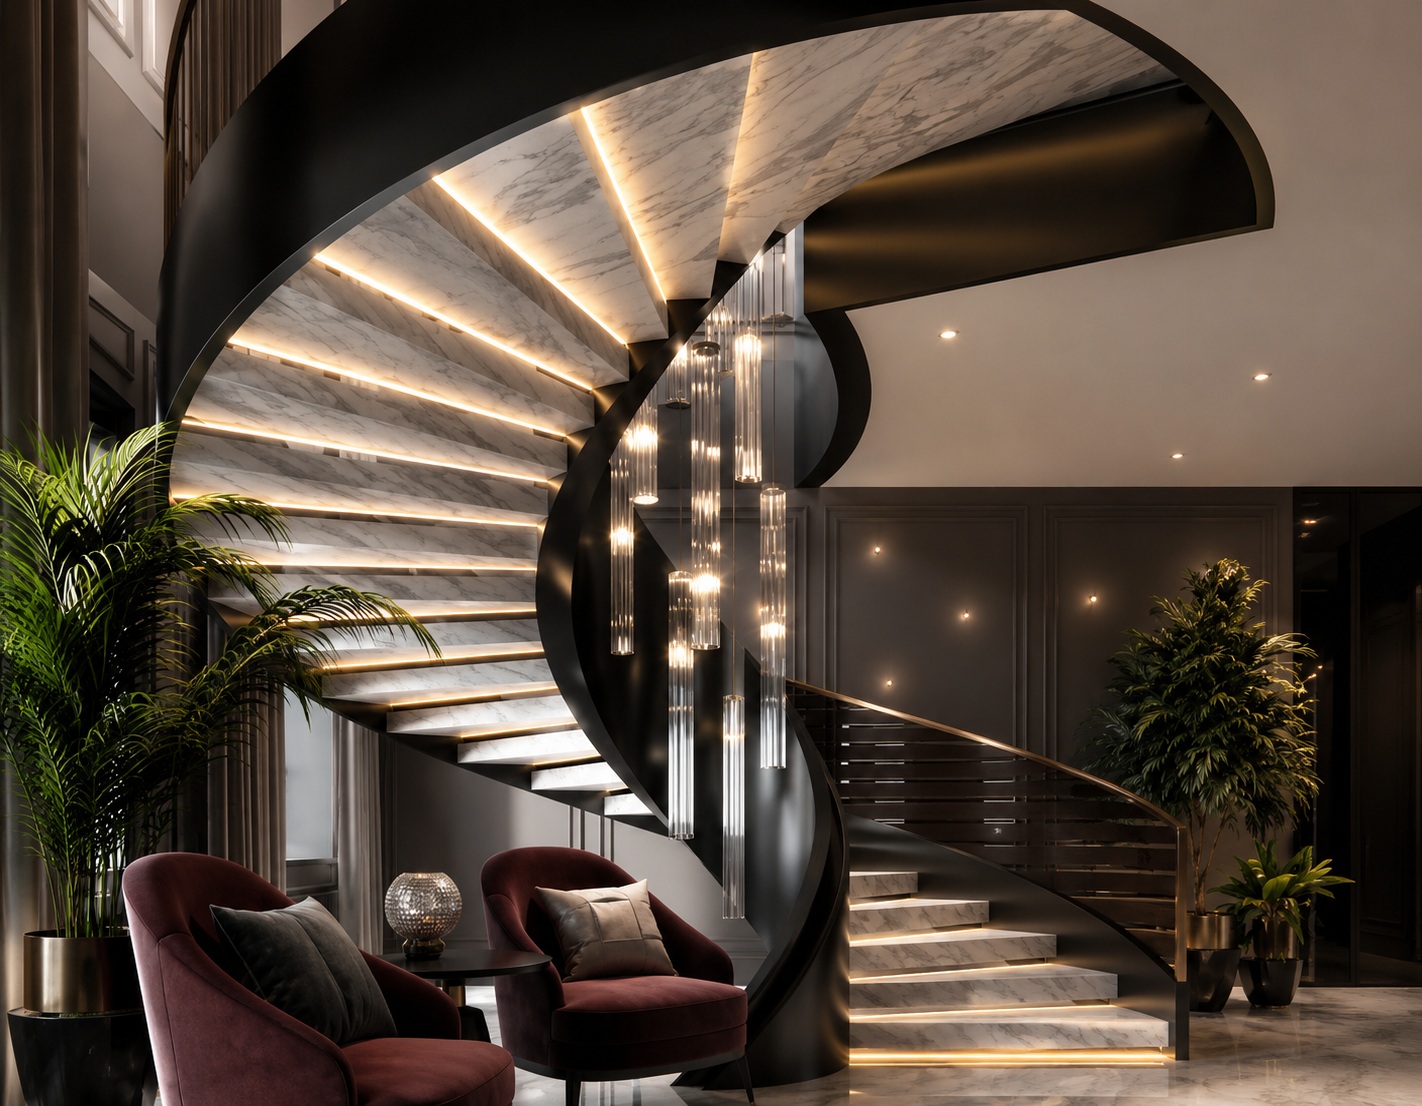
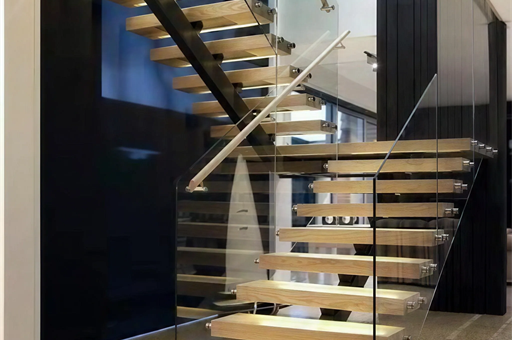
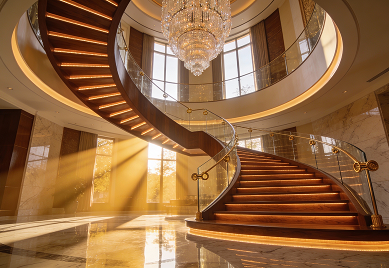
The tread material is chosen on the drawing and prepared alongside the structure. Solid timber suits a warm, classic curve; stone or engineered stone gives a more monumental feel; a steel substructure can also carry glass for a lighter, more open look. We match the treads to the staircase and to the floors they meet, so the finished curve feels considered rather than assembled from whatever was to hand.
How a curved staircase steel frame actually works — a factory pre-assembly look.
Step 5 — Railing, Balusters, and Finish
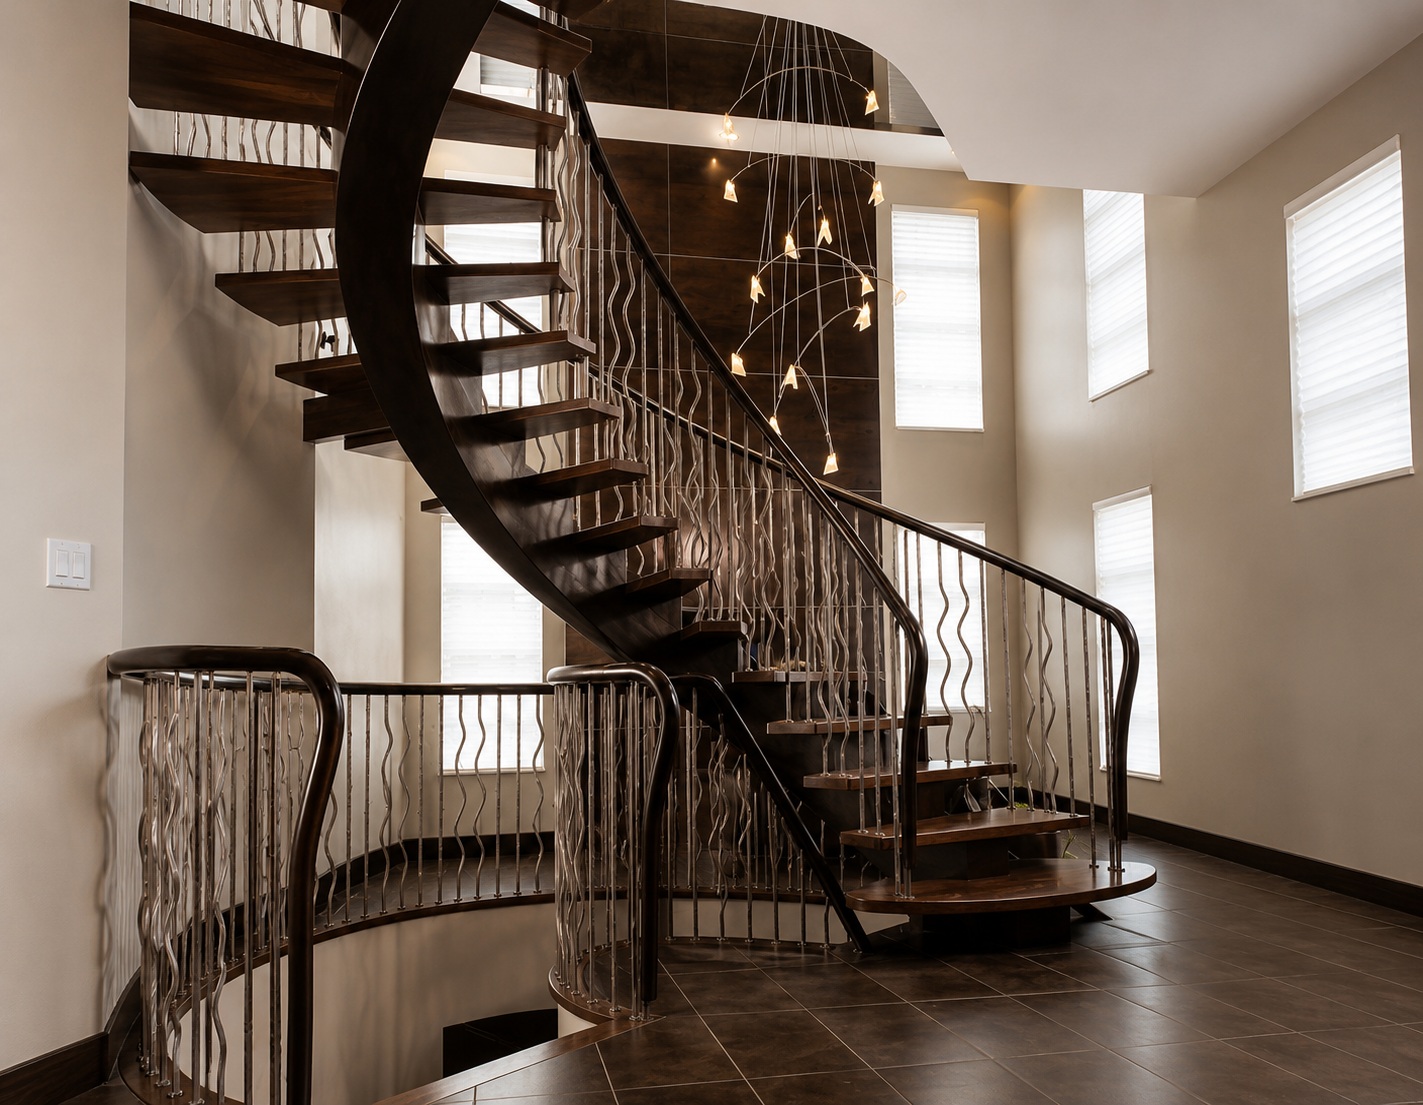
A curved staircase is not complete without its railing, and the railing also contributes to the rigidity of the whole flight. The balusters rise from the outer edge of the treads, and the handrail follows the curve along their tops, tying the treads together into one connected structure. The handrail is itself a curved element, so it has to trace the same helix as the stair rather than a stock straight length forced into place.
Forming a curved handrail is precise, patient work, much like the stringer beneath it. On a timber stair the rail is often laminated to the curve in the same way. On a steel or glass stair it might instead be a slim metal cap rail or a continuous run above a frameless glass infill. Once every component is ready, we finish the surfaces. We typically powder-coat indoor steelwork in the colour the drawing calls for, while timber is sanded and sealed, and glass is polished and prepared.
Material choice shapes both the look and this part of the process. A timber curve with a matching rail suits a warm, traditional interior; a steel curve with a glass balustrade reads light and contemporary; stone treads give a grand, formal sweep. You can see the range of finishes we build on our curved staircase page, and our curved staircase design guide explores how to choose between them.
Step 6 — Trial Assembly Before Packing
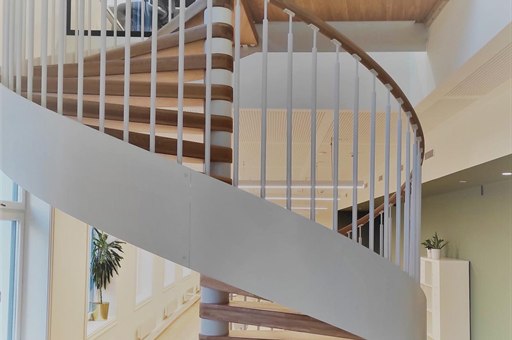
This step is the one that separates a confident build from a hopeful one. Before we pack anything, we trial-assemble the entire curved staircase on our Guangdong factory floor. The stringer is set, every tread goes to its position along the radius, and the railing follows the curve, so the finished stair takes shape exactly as it will in your home. We call this Trial Assembly Before Packing, and it is a deliberate quality gate, not an optional extra.
With the staircase standing, our team checks the things that only a full build reveals. They confirm that the sweep traces one clean arc, that the rise climbs evenly from the bottom step to the top, and that every tread and railing joint meets the stringer cleanly. If a single part sits even slightly out of line, we correct it here, on the workshop floor, where a correction is straightforward. Nothing leaves the factory until the whole assembly passes this check.
The benefit lands on your site weeks later. Because the parts have already proven they fit together, your installer reassembles a stair that already works, rather than discovering problems during installation. That is the real value of a trial build for a curved staircase, where a problem at home is slow and expensive to solve. Many cheaper suppliers skip this step entirely, and the risk shows up on site.
Step 7 — Export-Ready Crating and Shipping
Once the staircase passes its trial assembly, we carefully take it apart and pack it for the journey. This is Export-Ready Crating, and it serves two outcomes at once. The first is protection: the curved stringer, the treads, and the railing each travel in sturdy crates that guard the finish against knocks and weather across a long ocean voyage. A scratched coat or a knocked edge is a poor start to an installation.
The second outcome is a smooth rebuild at the far end. We pack the components in the order your installer will need them, and we label every part clearly against the drawing, so the curved stair goes back together logically rather than as a puzzle. Good packing is a genuine part of curved staircase construction for export, because the stair has to arrive both intact and easy to reassemble. Sloppy crating undoes weeks of careful fabrication in a single voyage.
From our 4,500 square metre factory in Guangdong, China, we have shipped staircases and railings to more than 60 countries, so the crates suit genuine international transit. The aim is simple and consistent: the curved staircase that arrives at your project is the same one that stood and passed its check on our floor.
Step 8 — Installation on Site
Installation is the stage where the finished curve finally rises in your home, and your own contractor or a qualified local installer handles it. Working from our approved drawings and the labelled crates, they set and secure the curved stringer, then rebuild the treads onto it along the radius and fit the railing along the curve. Because the stair already proved itself in our trial assembly, they reassemble a known-good object rather than solve fresh problems on site.
Here it is important to be clear about a boundary. Double Building Materials draws, manufactures, trial-assembles, crates, and ships your curved staircase. We do not install on site, and we do not verify or certify local code compliance; that work belongs to your local installer and your local authority. Where local installation is available, we are glad to help you find a qualified installer, but the on-site responsibility and the code sign-off stay with your local team.
That division of labour suits a bespoke exported staircase, and it works well when the drawing is clear and the parts carry clear labels. Your installer brings local knowledge of your building, your fixings, and your adopted code edition; we bring a curved stair that fits accurately and has already proven itself. Both halves matter for a finished result that is safe to use and looks right in the room.
How a Curved Staircase Is Built: FAQ
How is a curved staircase made?
A manufacturer makes a curved staircase by first fabricating a curved stringer, the beam that follows the arc and carries the steps. The treads then set along that radius at an even rise, and the railing follows the curve. The factory trial-assembles the whole flight to confirm the sweep and fit, then crates it for shipping and on-site installation.
What is the hardest part of building a curved staircase?
The curved stringer is the hardest part by a clear margin. That structural beam has to bend smoothly to the radius while staying true and strong, whether it is laminated timber bent around a former or steel rolled and welded to the arc. Once the stringer is accurate, the treads and railing follow it, so the curve depends on getting that beam right.
What measurements do you need to build a curved staircase?
You need three core figures. The floor opening sets how the curve can sweep and where it lands at the top. The floor-to-floor rise fixes the tread count and the height of each step. The radius defines the sweep of the curve itself. Handing, tread material, and railing style then complete the brief behind the shop drawing.
Can you build a curved staircase yourself?
It rarely works out for a bespoke curved stair, because shaping a true curved stringer needs engineering, equipment, and experience that home builders seldom have. A curve that is even slightly out of true is uncomfortable to walk and can be unsafe. Most owners have the stair fabricated by a specialist and installed by a local crew, which splits precision work and on-site assembly between the right hands.
Does Double Building Materials install the staircase?
No. We draw, fabricate, trial-assemble, crate, and ship the staircase, and your own contractor or a qualified local installer fits it on site from our drawings. We do not install or certify local code compliance. Where local installation is available, we can help you find a suitable installer, but the on-site work and sign-off stay with your local team.
More from the curved cluster: read the pillar guide on what a curved staircase is, and shape the look with curved staircase design. Ready to specify one? Browse our custom curved staircase range.
Double Building Materials draws, manufactures, trial-assembles, crates, and ships your curved staircase. Your own contractor or installer handles on-site installation and local code sign-off — we can help you find one where available. Dimensions and code points mentioned above are common US residential references; your local adopted edition governs, so confirm the current version with your local team.
Talk to us on WhatsApp →