


How to Build a Spiral Staircase: From Drawing to Installation-Staircase Guides
Spiral Staircase · How It’s Made
How to Build a Spiral Staircase: From Drawing to Installation
How to build a spiral staircase: a manufacturer measures the floor-to-floor height, the floor opening, and the chosen diameter, then draws a shop drawing for your approval. The factory cuts a central column and wedge-shaped treads, trial-assembles the whole flight to check the rise and fit, then crates it for shipping. A local installer fits it on site from those drawings.
That sequence is the honest answer to how a spiral staircase is made, and it looks very different from a weekend project. This guide walks through the manufacturer’s real process, the one we follow at Double Building Materials, from the first measurement to the moment your installer raises the finished stair. Along the way it shows where the careful work actually happens, and where the boundary between our workshop and your site sits.
Build It in a Factory, Not on Site
The first thing to grasp about building a spiral staircase is that almost all of the real work happens in a factory, long before the stair reaches your home. A spiral is a precise build, not a stack of loose parts. Every wedge-shaped tread has to land at the same rise and turn, or the whole coil reads as crooked underfoot. That accuracy is far easier to hit on a controlled shop floor than in a half-finished stairwell.
So the steps below show how we make the staircase, then trial-assemble and crate it for delivery. Your own contractor or installer does the final lift on site, working from our drawings. This guide is a look inside how we build, not a do-it-yourself manual, because a custom steel spiral is real engineering work. Reading it tells you what good work looks like, and what to ask whoever quotes your project.
We follow this same process for the spiral staircases we make and ship. One rule orders every step: nothing final happens until you approve the drawing, and nothing ships until our team stands the finished stair up and checks it. That discipline keeps a tricky curved object predictable.
Step 1 — Measure and Gather the Numbers
Building a spiral staircase begins with three numbers, and they govern everything that follows. The first is the floor-to-floor height, the straight distance from the top of the lower floor to the top of the upper floor. That figure decides how many treads the spiral needs and how tall each rise must be. A taller height simply adds more steps into the turning coil.
The second number is the floor opening, the hole in the upper floor that the staircase rises through. Its size and shape limit the largest diameter the spiral can use and where the stair can exit at the top. The third is the diameter you pick for the stair itself, a balance between the room you can spare and the comfort you want underfoot. We weigh those trade-offs in the spiral staircase dimensions guide.
| Measurement | Why it matters |
|---|---|
| Floor-to-floor height | Sets the tread count and the rise of each step. A taller height adds treads to the coil. |
| Floor opening | Caps the usable diameter and fixes where the stair exits the upper floor, and where headroom is tight. |
| Chosen diameter | Controls tread depth and walking comfort. A wider circle is easier to climb but asks for more room. |
| Handing & finish | Clockwise or anticlockwise, plus tread material and railing style, complete the brief for the drawing. |
For an export project, your local contractor usually takes these numbers and sends them to us, often with a sketch or a few photos of the stairwell. Right numbers at this stage are everything, because the whole staircase follows them. A small slip here becomes a hard fix later, which is exactly why the next step exists.
Step 2 — The Shop Drawing (Approve Before Cutting)
The numbers turn into a working shop drawing before we cut any steel. This is the heart of what we call Drawing-First Coordination. The drawing fixes the central column, the exact rise and turn of every tread, the diameter, the railing, and the joint details. It turns a loose brief into a buildable object, and the whole build then follows this one sheet.
You review and approve that drawing before we cut anything, and we make the approval step matter, not a mere formality. A spiral leaves very little room to fix a mistake once we cut the steel, because the treads are wedge-shaped and the column takes fixed drilled holes. Catching a wrong size on paper costs a quick redraw; catching it later costs a part. So we treat the approved drawing as the contract for the build, and we cut nothing until you sign it off.
A clear drawing also lets your installer plan ahead, since they can see the footprint, the fixings, and how the stair meets each floor in advance. It pays to read the drawing with care, and to check the diameter against your space and the rise against your local rules. If you want to know which figures to check, our spiral staircase code requirements guide walks through the common figures.
Step 3 — Fabricate the Central Column and Treads
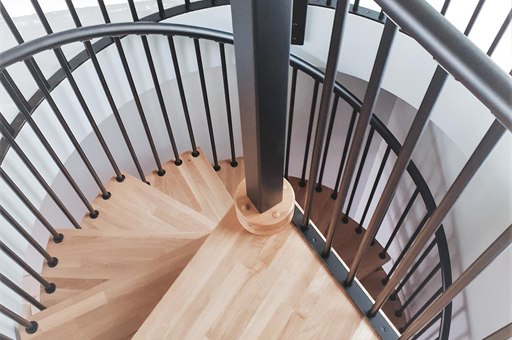
With the drawing approved, spiral staircase fabrication begins in earnest. We cut the central column from hollow steel section and prepare it as the spine of the stair, because it carries the load straight down to the floor. We then cut each wedge-shaped tread to the approved profile, narrow where it meets the column and considerably wider at the outer edge, where you actually walk. Every tread in the flight is identical, which is what makes the coil regular.
The treads attach to the column through short sleeves, or collars, that slide over it in turn. The height of each sleeve sets the rise of that step, so stacking the sleeves builds the staircase up at a constant, even pitch. We weld each tread to its sleeve, then rotate the assembly to the correct angle and fix it at the position the drawing specifies. This sleeve-and-column method is the most common way to make a steel spiral, and it gives a uniform rise and a precise turn.
Cutting and forming the parts is exacting work that rewards good equipment and experienced hands. Across more than 25 years of manufacturing, our fabricators have refined how these components come together so the geometry stays true. At this stage the result is a complete set of accurate parts: one column, a stack of identical treads on their sleeves, and the railing components that join them, all ready to try together.
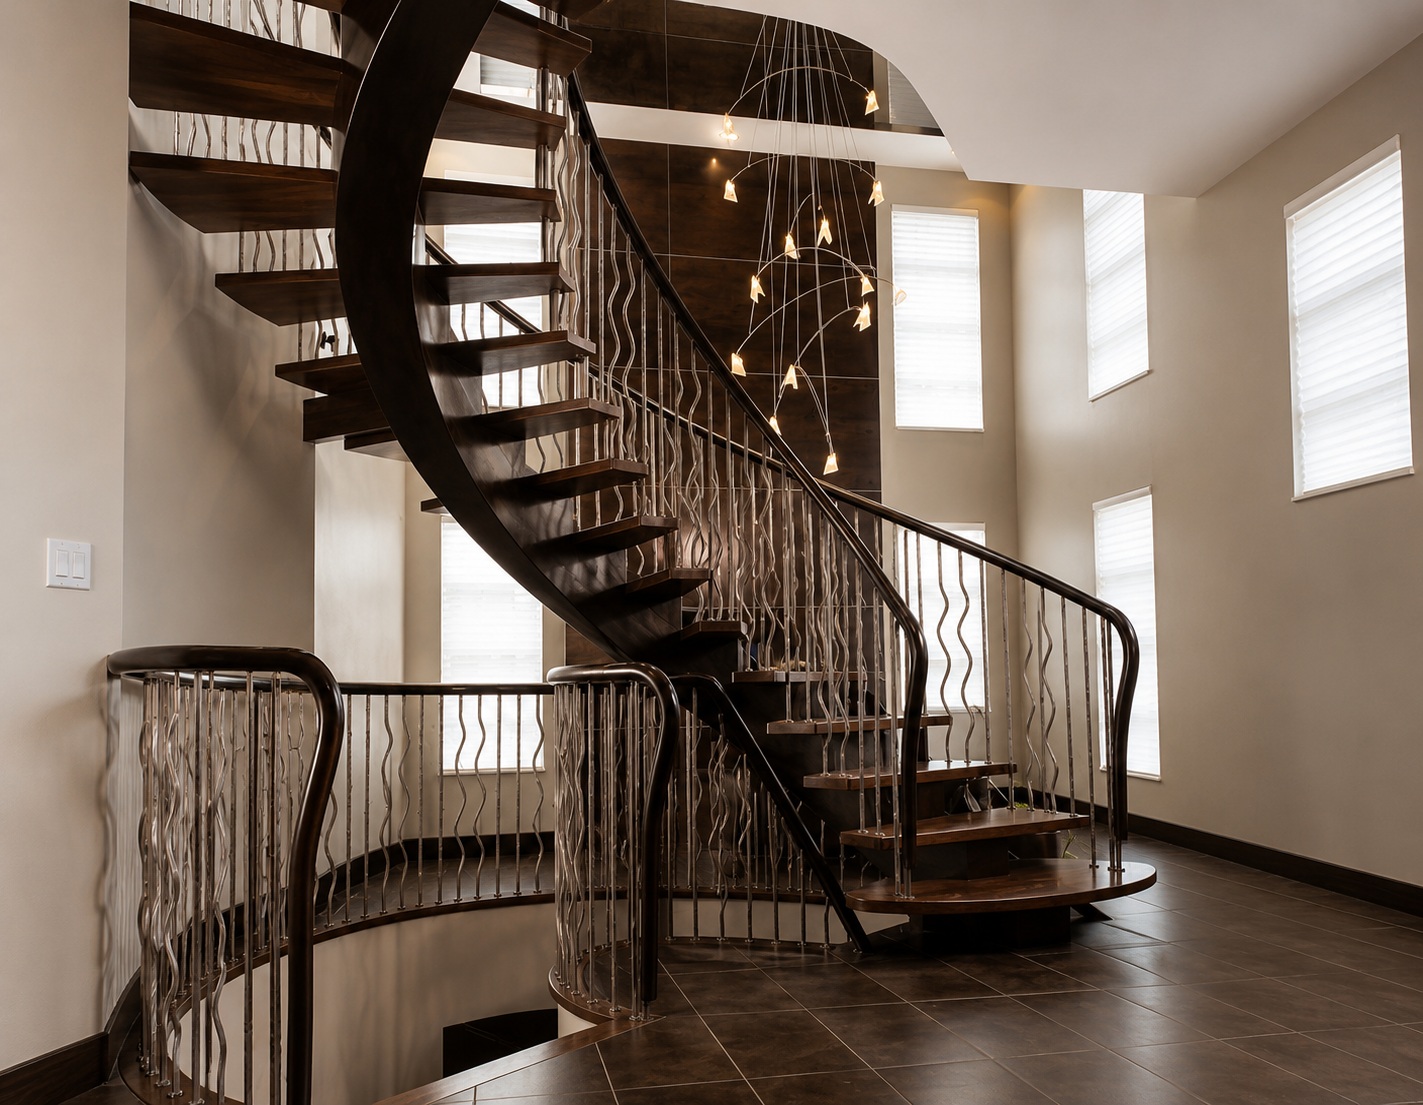
How we forge a luxury iron spiral staircase — a look inside our factory.
Step 4 — Balusters, Railing, and Finish
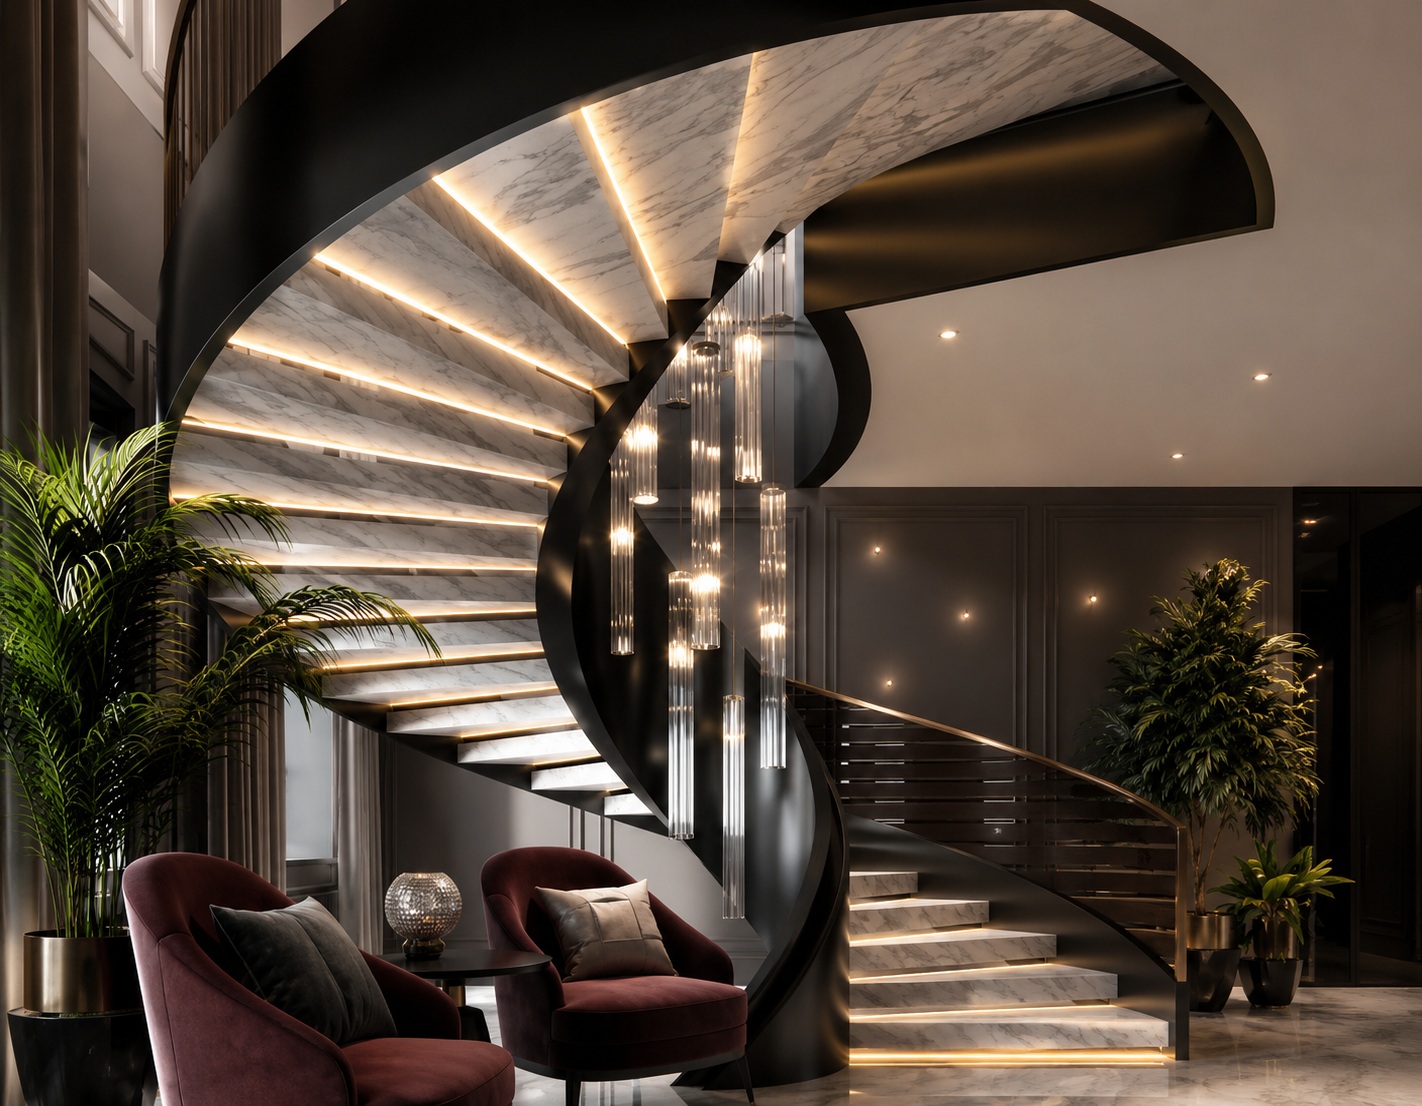
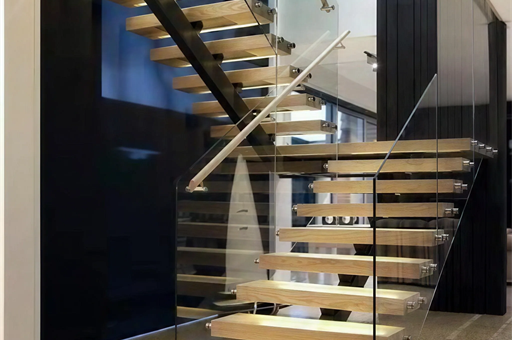
A spiral staircase is not complete without its railing, and the railing also contributes to the rigidity of the whole flight. The balusters rise from the outer edge of each tread, and the handrail follows the curve along their tops, tying the treads together into one connected structure. On a forged-iron stair, this is where ornamental scrollwork and shaped balusters are formed; on a contemporary stair, it might be a slim metal post line or a frameless glass infill instead.
The handrail itself has to follow the exact helix of the stair, which takes precise, patient work rather than a stock length bent on site. Once every component is ready, we finish the steel. We typically powder-coat an indoor stair in the colour the drawing calls for, while an outdoor spiral takes galvanising or a weatherproof coating so it can shrug off rain for years. We prepare glass or timber treads separately and match them to the metalwork.
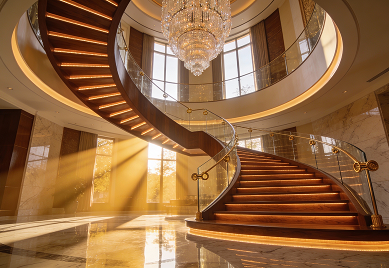
Material choice shapes both the look and this part of the process. A steel column with warm wood treads suits most indoor homes; forged iron suits a period or feature stair; galvanised steel with open grating treads suits an exterior route. You can see the range of finishes we build on our spiral staircase page, and the complete guide to spiral staircases compares them in more depth.
Step 5 — Trial Assembly Before Packing
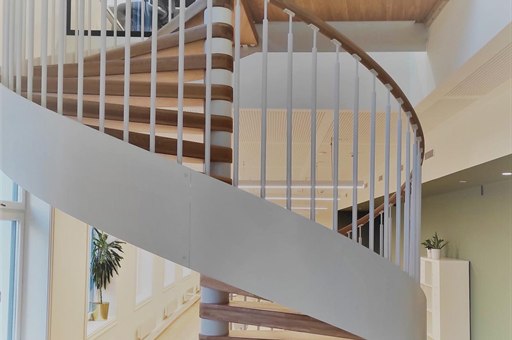
This step is the one that separates a confident build from a hopeful one. Before we pack anything, we trial-assemble the entire spiral on our Guangdong factory floor. The column stands, every tread goes onto its sleeve in sequence, and the railing follows along the top, so the finished stair takes shape exactly as it will in your home. We call this Trial Assembly Before Packing, and it is a deliberate quality gate, not an optional extra.
With the staircase standing, our team checks the things that only a full build reveals. They confirm that the rise climbs evenly from bottom to top, that the turn lands the exit where the drawing intended, and that every tread, sleeve, and railing joint fits cleanly. If a single part sits even slightly out, we correct it here, on the workshop floor, where correction is straightforward. Nothing leaves the factory until the whole assembly passes this check.
The benefit lands on your site weeks later. Because the parts have already proven they fit together, your installer reassembles a stair that already works, rather than discovering problems during installation. That is the real value of a trial build for a curved staircase, where a problem at home is slow and expensive to solve. Many cheaper suppliers skip this step entirely.
Step 6 — Export-Ready Crating and Shipping
Once the staircase passes its trial assembly, we carefully take it apart and pack it for the journey. This is Export-Ready Crating, and it serves two outcomes at once. The first is protection: the column, the treads, and the railing each travel in sturdy crates that guard the finish against knocks and weather across a long ocean voyage. A scratched powder coat is a poor start to an installation.
The second outcome is a smooth rebuild at the far end. We pack the components in the order your installer will need them, and we label the parts clearly against the drawing, so the stair goes back together logically rather than as a puzzle. Good packing is a real part of building a spiral staircase for export, because the stair has to arrive both intact and easy to reassemble. Sloppy crating undoes careful fabrication.
From our 4,500 square metre factory in Guangdong, China, we have shipped staircases and railings to more than 60 countries, so the crates suit genuine international transit. The aim is simple: the staircase that arrives at your project is the same staircase that stood and passed its check on our floor.
Step 7 — Installation on Site
Spiral staircase installation is the stage where the finished stair finally rises in your home, and your own contractor or a qualified local installer handles it. Working from our approved drawings and the labelled crates, they set and secure the central column, then rebuild the treads onto it in sequence and fit the railing along the curve. Because the stair already proved itself in our trial assembly, they reassemble a known-good object rather than solve problems.
Here it is important to be clear about a boundary. Double Building Materials draws, manufactures, trial-assembles, crates, and ships your spiral staircase. We do not install on site, and we do not verify or certify local code compliance; that work belongs to your local installer and your local authority. Where local installation is available, we are glad to help you find a qualified installer, but the on-site responsibility and the code sign-off stay with your local team.
That division of labour suits an exported custom staircase, and it works well when the drawing is clear and the parts carry clear labels. Your installer brings the local knowledge of your building, your fixings, and your adopted code edition; we bring a stair that fits accurately and already proved itself. Both halves matter for a result that is safe and looks right.
Can You Build a Spiral Staircase Yourself?
People often ask how do you build a spiral staircase as a project at home, and the honest answer depends on what you are starting from. Cutting and welding a custom steel spiral from raw material is genuine structural fabrication, and it asks for engineering, metalworking equipment, and experience that most homeowners do not have. A spiral that is even slightly out of true is uncomfortable to climb and can be unsafe, so this is not a casual weekend build.
A capable contractor or welder, on the other hand, can install a manufactured spiral from clear drawings and well-labelled parts, which is exactly the model described above. That is why a specialist fabricates most spiral staircases and a local crew then installs them, rather than anyone building one from scratch on site. It splits the work sensibly: precision fabrication in a controlled factory, and skilled assembly in your actual stairwell.
If you are weighing a spiral against other stairs, or pricing one out, our cluster covers the rest of the decision. Start with the complete guide to spiral staircases for types and uses, then check the code requirements for the rules. When you are ready, our custom spiral staircase range shows what we manufacture to order.
How to Build a Spiral Staircase: FAQ
How is a spiral staircase made?
A manufacturer makes a spiral staircase by fabricating a central steel column and a set of identical wedge-shaped treads. Each tread welds to a short sleeve that slides over the column, and the sleeve height sets an even rise. The factory trial-assembles the whole flight to confirm the fit, then crates it for shipping and on-site installation.
What measurements do you need to build a spiral staircase?
You need three core numbers. The floor-to-floor height sets the tread count and the rise of each step. The floor opening caps the diameter and fixes where the stair exits the upper floor. The chosen diameter controls walking comfort. Handing, tread material, and railing style then complete the brief behind the shop drawing.
How long does it take to build and install a spiral staircase?
The timeline runs from drawing approval through fabrication, trial assembly, and crating, and then shipping time for an export order before installation. Because we make every spiral to order, the lead time depends on the design, the materials, and the finish you choose. We confirm a realistic schedule for your project once you approve the drawing.
Does Double Building Materials install the staircase?
No. We draw, fabricate, trial-assemble, crate, and ship the staircase, and your own contractor or a qualified local installer fits it on site from our drawings. We do not install or certify local code compliance. Where local installation is available, we can help you find a suitable installer, but the on-site work stays with your local team.
Is it cheaper to build your own spiral staircase?
It rarely works out that way for a custom steel spiral, because the fabrication needs engineering, equipment, and experience that home builders seldom have. A poorly built spiral is uncomfortable and can be unsafe. Most owners have the stair fabricated by a specialist and installed locally, which splits precision work and on-site assembly between the right hands.
More from the spiral cluster: read the complete guide to spiral staircases, get the numbers right with spiral staircase dimensions, and confirm the rules in spiral staircase code requirements. Ready to specify one? Browse our custom spiral staircase range.
Double Building Materials draws, manufactures, trial-assembles, crates, and ships your spiral staircase. Your own contractor or installer handles on-site installation and local code sign-off — we can help you find one where available. Dimensions and code points mentioned above are common US residential references; your local adopted edition governs, so confirm the current version with your local team.
Talk to us on WhatsApp →