




How to Install Cable Railing Without Jobsite Surprises: Pre-Production Checks
Railing Guides · Pre-Order & Site Setup
Knowing how to install cable railing without jobsite headaches starts weeks before your crate ships. Eleven tight stainless wires pull each end post inward with more than a ton of combined force. Locking sub-deck wood blocking, corner post pairs, post spacing under 4 feet, and exact stair slope on shop drawings lets pre-drilled sets bolt down fast.
Short online clips make wire infill look easy, until a crew pulls line six tight on site and watches a corner post lean while slack drops into lines one through five. On custom decks and sloped stairs, dependable installation starts on engineering drawings before we machine or bore a single structural tube. Keep our deck cable railing guide close for exterior alloy grades, and read our companion breakdown on cable railing kits vs. custom-built sets if you are comparing modular cartons against factory assemblies. Below is what to confirm before fabrication begins and how jobsite installation flows once tagged bays arrive.
Why Knowing How to Install Cable Railing Starts Before Shop Work
Learning how to install cable railing starts with cumulative tension, because each horizontal stainless cable needs 200 to 300 lbs of pull so hand load cannot spread wires past 4 inches. Multiply that pull across eleven horizontal courses on a 36-inch residential guard—or thirteen courses on a 42-inch balcony—and each termination post resists more than 2,200 lbs of inward bending force.
When an end post flexes even 3/16 inch under tensioning, every cable you already tuned loses pull and the mitered corner joint on your continuous rail cracks open slightly. Cranking bolts harder only bends a light post more, whereas true stiffness comes from heavy end-post walls, solid blocking under planks, and a continuous rigid top rail. See our complete cable railing guide for full component details.
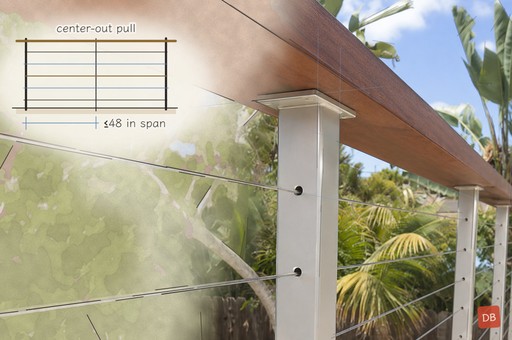
How a tight bay holds load: solid blocking anchors end posts, the stiff top rail braces inward pull, and wires tune from the center course outward (1 to 9).
Breaking Runs Into Straight Legs, Corners, and Stair Turns
Before our Foshan engineering team bores a single post hole, we divide your deck and stair perimeter into independent tension segments. Every 90-degree corner, 45-degree bay angle, and landing-to-stair transition changes how cables route and where terminal hardware anchors.
Consider a standard L-shaped deck corner. You can detail that corner two ways, and your selection changes both post count and sub-deck framing layout:
- Twin corner termination posts. Each straight run ends on its own structural post placed a few inches from the corner vertex, connected overhead by a mitered continuous handrail. Neither run pulls sideways against the other, cables never drag around tight bends, and long straight spans tension cleanly from one end.
- Single heavy-wall post with isolation sleeves. Cables pass through protective corner sleeves inside one reinforced post. Visually you save one post, yet the two perpendicular runs combine into a 45-degree diagonal pull equal to 1.41 times a single leg. That layout demands heavier tube walls and tensioning terminals at both ends.
- Stair-to-landing breaks. Never bend a horizontal deck cable abruptly down a 35-degree stair slope without articulating fittings. Terminating level runs at the landing post and starting dedicated raked runs with beveled washers keeps cable spacing parallel to step nosings—see our stair cable railing guide for slope geometry.
Wire diameter gets confirmed on engineering drawings too, since drawn assemblies include 316 marine stainless wire in 1/8-inch (3.2mm) size for residential views or 3/16-inch (4.8mm) size when extended runs need additional stiffness. Check post shapes, rail looks, and architectural finishes on our stainless steel cable balustrade page.
Top view of corner framing: twin end posts keep tension runs separate (Option A), while a single corner post takes a 1.41x inward pull (Option B).
Top Plates vs. Side Fascia Mounts: Sub-Deck Wood Blocking
Composite deck boards and thin PVC trim hold zero structural railing torque by themselves, so top base plates and side fascia brackets must bolt deep into solid wood blocking or steel rim framing below.
Lock top-plate mounting versus side fascia mounting before your crew fastens the outer deck planks. Top-mount plates sit on the walking surface and need stacked 2x8 or 2x10 wood blocking fitted snug between joists right under all four bolts. Side fascia brackets bolt to the outer rim joist to keep full deck width open on tight balconies. Just mark gutters, drip flashing, roof overhangs, and thick trim wraps on your pre-production sketch so brackets clear every obstacle cleanly.
| Pre-Order Check | Why It Helps on Site | Cost of Guessing Late |
|---|---|---|
| Exact run lengths | Sets factory-swaged stud lengths and keeps bays under 48 in. | Short leftover end bay or cutting pre-swaged ends on site. |
| Joist path & wood blocking | Lines up all four base bolts over solid wood or steel. | Bolts miss joists and spin in composite boards; planks must come up. |
| Corner post style (1 vs. 2) | Locks hole angles, tube wall thickness, and fitting count. | Wires bind around 90-degree turns and leave middle bays soft. |
| Stair rise, run & nose depth | Sets exact CNC drill angle on bottom, mid, and top posts. | Wires rub hole rims, kink at entry points, and miss grip height. |
| End clearance by house walls | Picks hidden in-post tensioners when posts sit near siding. | No room behind an end post to spin a long outer turnbuckle. |
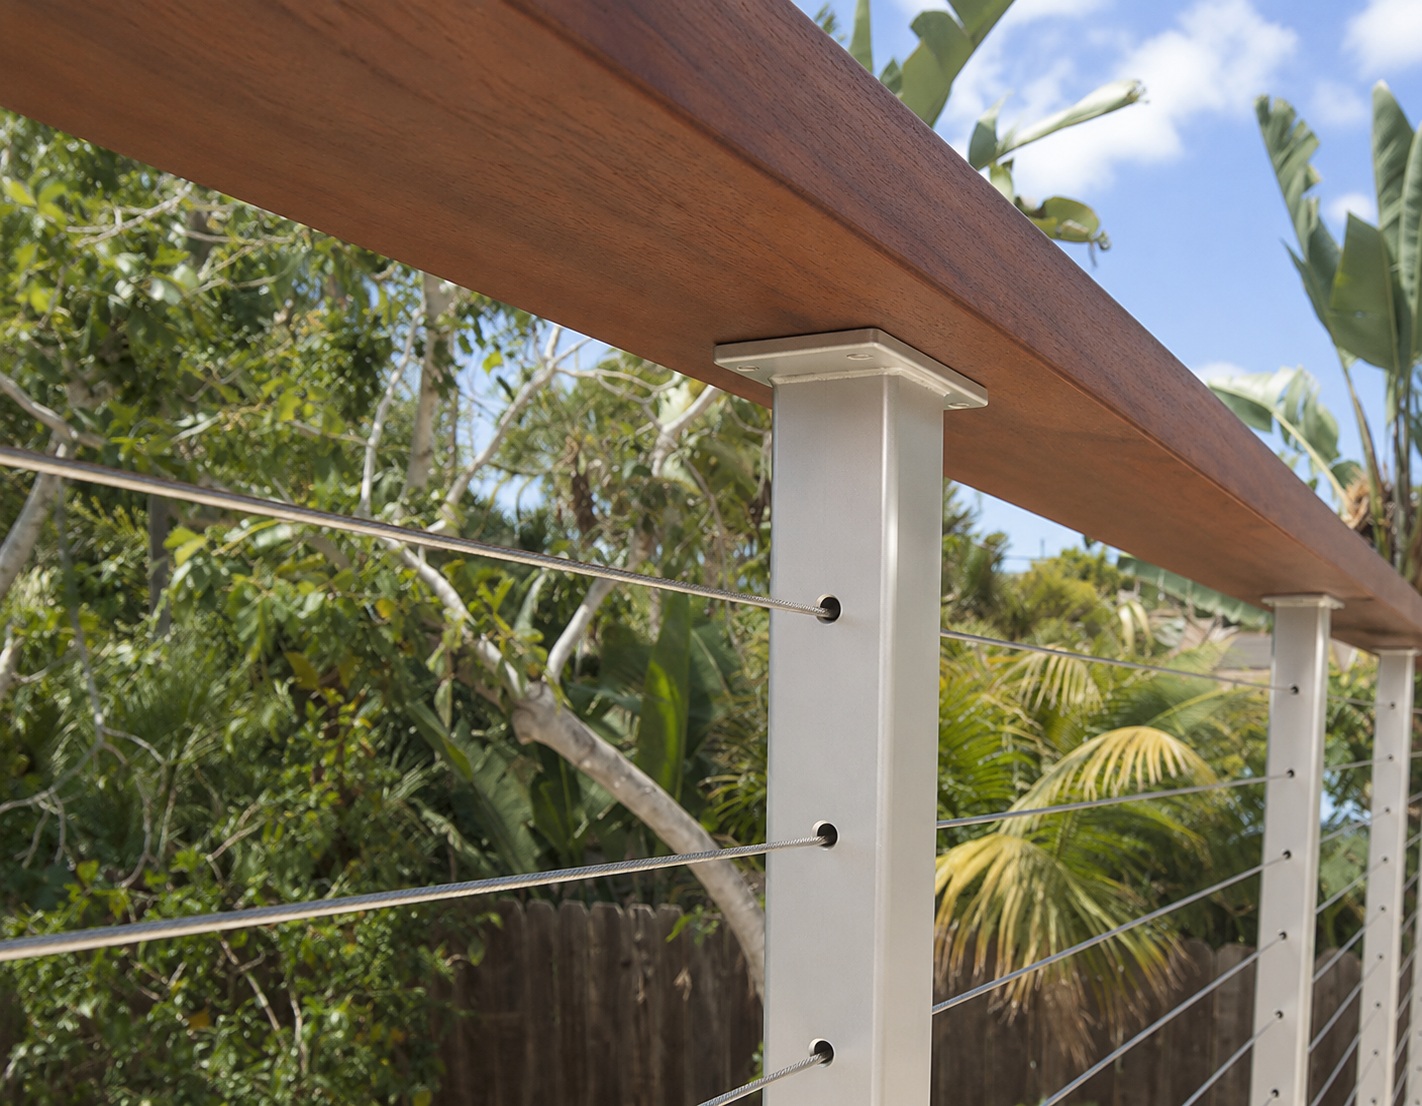
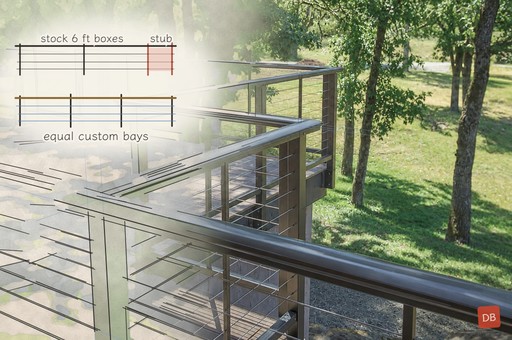
Close-up of a custom 316 cable run: clean pre-bored mid posts and a rigid wood top rail hold tight horizontal alignment.
Six-Step Jobsite Flow Once Pre-Drilled Sets Arrive
After you sign off on the CAD shop drawing, we cut, CNC-bore, coat, and dry-fit your bays on our Foshan factory floor so numbered parts ship in an organized crate. On site, your crew follows six clean steps:
- 1. Snap chalk lines: Match stamped post tags (P-01, P-02, sloped stair posts) to your approved installation sheet before drilling pilot holes.
- 2. Set end posts plumb: Slip thin stainless shims under base plates where decks pitch for rain drainage, then torque structural bolts.
- 3. Add intermediate spreaders: Keep unsupported wire spans between 36 and 48 inches max so horizontal deflection stays well within limits.
- 4. Bolt continuous top rails: Never pull cables tight on bare posts, because locking the rigid top rail closes the compression frame.
- 5. Feed 316 wire through grommets: Snap sleeves into mid-post holes to stop steel strands from rubbing paint finishes before locking studs.
- 6. Tension from center outward: Snug the middle wire first, step one course up and one down, and check pull thirty minutes later once strands seat.
Seasonal weather swings also shape outdoor wire pull across long residential runs, since stainless wire grows slightly in hot sun and shrinks in cold air at its own rate. Leaving clean thread room inside turnbuckles or hidden ends lets an owner make a quick quarter-turn seasonal check with two hand wrenches and zero wire cuts, keeping every span crisp year after year.
Why New Cable Decks Fail Tests—and When to Skip Wire
Counter-question: why do newly installed cable decks sometimes fail building inspections, and when should you avoid horizontal wire altogether? Nearly every inspection failure stems from the 4-inch sphere deflection test—or local restrictions around swimming pools and curved balconies.
Under IRC Section R321.1.3 (R312.1.3 in 2018 and 2021 editions), an inspector presses a 4-inch sphere firmly between adjacent wires rather than holding it lightly in air. Because flexible cable bows under load, pre-drilled posts space holes around 3 inches on center instead of 4 inches. Stretching posts 6 feet apart without an intermediate spreader picket lets cables spread past 4 inches even under heavy tension. Review full ADA grip and IRC clearance rules in our cable spacing and code guide.
Horizontal wire also carries honest architectural limitations. If your municipal pool barrier ordinance treats horizontal cables as climbable near water, select glass or vertical rod balusters instead of risking permit rejection. Likewise, avoid horizontal cables on tight curved balconies or spiral stairs. Straight tensioned wires pull chord-lines inward across an arc and bind against post holes, whereas curved glass or vertical pickets follow true radii cleanly.
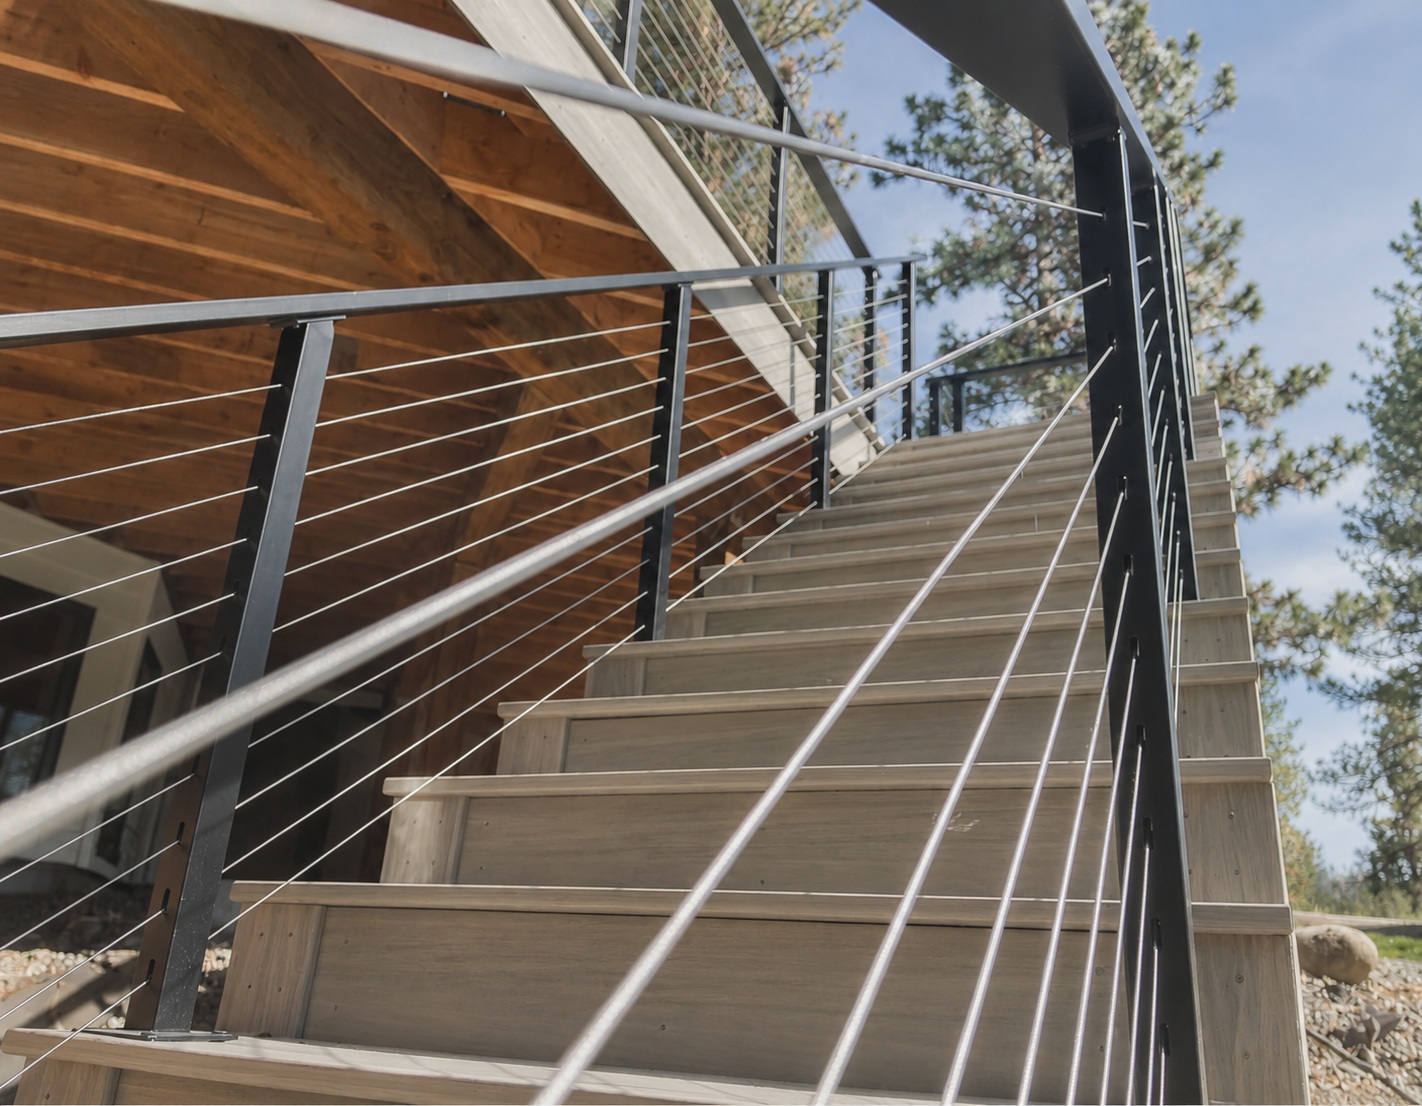
Sloped outdoor stair cable set: factory-bored angled holes and mid posts hold crisp lines parallel to step nosings.
Six Site Photos and Numbers to Send Before We Cut Steel
To convert a rough deck concept into an exact shop drawing without weeks of revision emails, send six straightforward site details before fabrication starts:
- Top-down edge sketch: Mark each straight leg length, corner angle, house wall end, and gate opening on a simple plan sheet.
- Rim joist and blocking photo: Capture outer deck framing before fascia wrap goes on, noting joist depth and top-mount versus side-mount choice.
- Stair rise, run, and landing depth: Share total floor-to-floor height, single riser height, tread depth, and landing clearance.
- Local guard height rule: Confirm whether your city enforces 36 inches for homes or 42 inches for multi-family and commercial decks.
- Wall gap behind end posts: Show stone veneer or siding near end posts so we specify hidden inner tensioners where wrenches lack room.
- Salt air and humidity level: Distance from ocean spray or pool water guides 316 stainless alloy choice, marine coatings, and thread paste.
Once those six site notes arrive, we draw complete CAD engineering plans and pre-bore each horizontal and sloped post. We then run a full trial assembly in our Foshan facility and crate tagged bays in installation sequence, while stamped stainless bolts, thread paste, and intermediate grommets keep tensioning smooth start to finish. That front-end structural check keeps deflection tight and gives your home a clean, continuous view for years.
Pre-Order and Site Tension Questions
Why tune the middle cable first instead of working top to bottom?
Pulling the top wire tight first tips post tops inward before lower lines carry any load, bowing the frame. Starting at the middle course and stepping up and down keeps post stress balanced.
When do factory-swaged ends beat field swageless jaws?
Factory-swaged threaded studs look slimmer and install faster when run lengths are fixed on shop drawings and posts have open pull space. Swageless jaws help when one post stands tight against a house wall and wire must trim to length in place.
Can we reuse old 4x4 wood deck posts to anchor new stainless cables?
Wood 4x4 posts dry out, twist, and crush slightly around lag threads over seasons, letting cables go slack again and again. Heavy-wall stainless or aluminum end posts hold pull far better over time.
How do you stop cables from buzzing or rubbing paint off mid posts?
Snug UV-stable grommet sleeves press into every mid-post hole before threading wire. They quiet wind chatter and keep hard 316 strands off coated post edges.
Can I buy just a bag of cable fittings if I build my own posts?
No. Double Building Materials does not sell loose retail parts; we supply complete, project-matched sets—posts, top rails, 316 wire, and tension fittings—dry-fitted together before export crating.
More cable railing reads: Custom Stainless Cable Balustrade · Cable Railing Kits vs. Custom Sets · Cable Railing for Decks · Complete Cable Railing Guide
Scope note: Setup steps and IRC R321.1.3 / R312.1.3 gap references are general planning context. Double Building Materials supplies shop drawings, pre-drilled sets, trial assembly, and export crating. Local officials confirm code rules, and your builder or separately quoted partner crews in the USA, Australia, and Canada handle setup.
Talk to us on WhatsApp →